DIY Vivienne Westwood Union Jack Rug
So I swear the online magazine Lonny will be the death of me!
Every single page of that thing is ridiculously stylish, filled with items I want and items I want to recreate.
When I was perusing its pages early this morning while drinking my Skinny Latte (it's what Starbucks has recently deemed my favorite drink. Which I resent because it makes me feel like I should be on a diet which I definitely am not. . .)
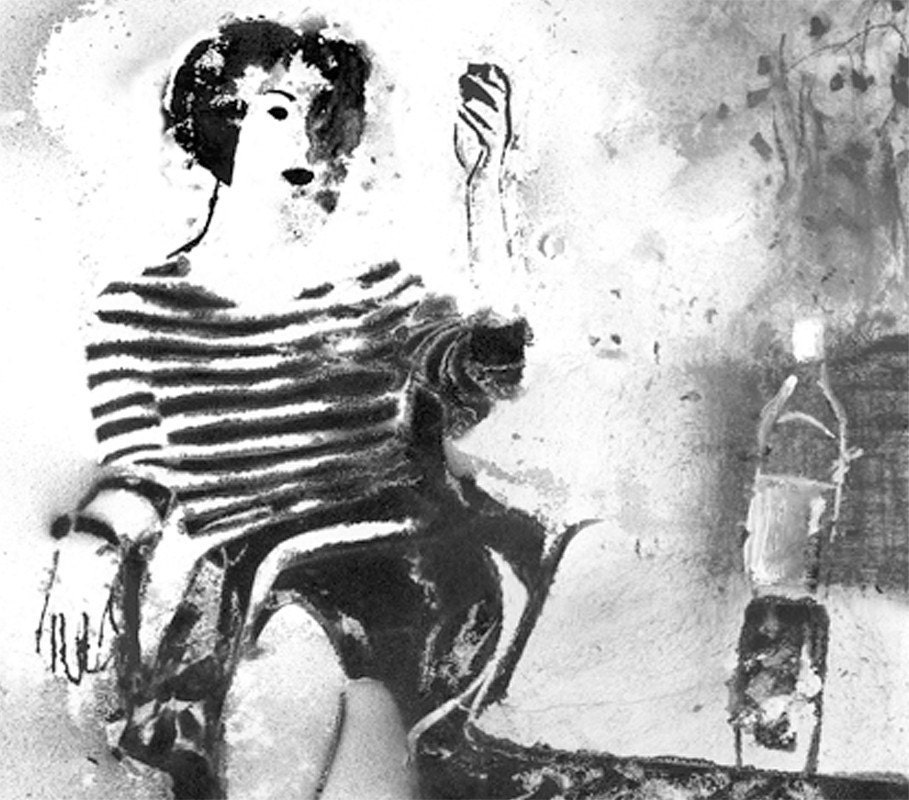
I stumbled upon this gorgeous Vivienne Westwood Union Jack rug.


I love old Mr. Union Jack but am often deterred from letting him in my home because of his bold use of primary colors. I don't want my house looking like a classroom project. Granted this could be a completely unwarranted concern, but still it's my unwarranted concern.
What I love about this Vivienne Westwood version is its wonderfully muted colors. No bright child like colors here! I love how it looks like its been in battle.
So it got me thinking, hmm how can I have this without wasting spending too much money? Then I remember Martha Stewart's tutorial on how to make canvas rugs. . . perfection!
So my newest DIY, which I'm sure will give the bf a heart attack since all my DIYs involve mess and chaos, will be to recreate this Vivienne Westwood rug using Martha Stewarts canvas rug tutorial.
I think it will work out amazingly precisely because the original looks like it has been in battle. The style leaves room for some DIY errors to look as though they are purposeful!
And the base of it all is a drop cloth! Which some of you may already have laying around. This is a pretty cool project for any room in the house, I'm thinking it could be really fun to design a cute rug for a kids room for all the mommies out there! And I also love how you don't have to sew anything :)
For those type A's out there, its probably a good idea to create a template mapping out the proportions of the Union Jack design. I'm more of a fly-by-the-seat of my pants lady so we will see how my freehand looks
For those type A's out there, its probably a good idea to create a template mapping out the proportions of the Union Jack design. I'm more of a fly-by-the-seat of my pants lady so we will see how my freehand looks
Prepping the Canvas
Tools and Materials
drop cloth
hollow-core door, or 1/2-inch plywood cut to size
number 10 canvas duck, cut to dimensions of door or board plus a 6-inch margin
staple gun
paper cups
paint roller on broomstick
roller tray and liner white acrylic gesso
medium-grit sandpaper
It's easiest to stretch the canvas over a hollow-core door, which is lightweight and just the right size for a rug. For other dimensions, you can also use plywood cut to size. We primed both sides for added durability.
1. Working on a large table or on a drop cloth on the floor, center door or board on canvas. Smooth the fabric around to the back, stapling it at each side's midpoint. Continue stapling from the center points outward, about every 3 inches. Fold one side neatly under the other; staple at each corner (far left).
2. Flip the door, and support it on upside-down paper cups. Using a roller, prime the surface and edges with gesso (if using plywood, prime 1 inch border of underside, too). Let dry. Lightly sand.
3. Remove staples, and flip the canvas. Reposition canvas on door, matching up fold lines; staple again.
4. Prime surface and edges with gesso. Let dry; sand surface and edges. Add another coat. Let dry; sand.
Painting Tips
Use liquid acrylics (if you use heavy-body acrylics, which come in tubes, thin with water to the consistency of cream) and flat brushes in a variety of sizes. To match hues in your room's decor, you can mix tints: Combine titanium white with other colors for lighter shades, or add a dab of burnt umber to give an earthy tint. If you would like a warm, neutral background, paint the canvas with a wash of titanium buff (1 tablespoon paint mixed with 4 cups water). When customizing a shade of paint, you won't be able to reproduce it exactly once you've used it up, so don't skimp on amounts; to paint a solid color on a door-size canvas, you'll need about 2 cups. Use airtight jars to store the colors you've blended.
Finishing Your Rug
Tools and Materials
polyacrylic varnish
wide paintbrush
drop cloth
scissors
yardstick
pencil
1 roll double-sided carpet tape
bone folder or butter knife
1. Apply two coats of varnish to painted surface, according to label instructions. Let final coat dry overnight. Turn the door over, and lay it on a drop cloth on the floor; then unstaple the canvas.
2. The door's edges create two fold lines that delineate the hem. Trim excess canvas just outside outer fold line (if plywood was used, mark and trim to 1 inch outside the fold line).
3. To miter the corners, fold in the hem on both sides of a corner so their edges meet; mark that point on each.
4. Lay the fabric flat again, and draw a line between the two points; it should intersect the corner of the inner fold line. Trim just outside the line that you've marked. Repeat with remaining corners.
5. Affix carpet tape to underside of hem on each side of canvas; press hem flat, and burnish with bone folder or the handle of a butter knife. Carefully turn over rug without bending it; let dry 4 days, or according to varnish directions, before using it. Lay it on the floor over a nonslip pad of the same size.
yay for martha stewart!